SNAPSHOT PROXY PORTAL FEATURE
OVERVIEW
PREREQUISITES
- You must have your Portal login.
Contact your Customer Administrator or HDOnTap Support if you need assistance with your Portal credentials.
VIDEO TUTORIAL
STEP-BY-STEP INSTRUCTIONS
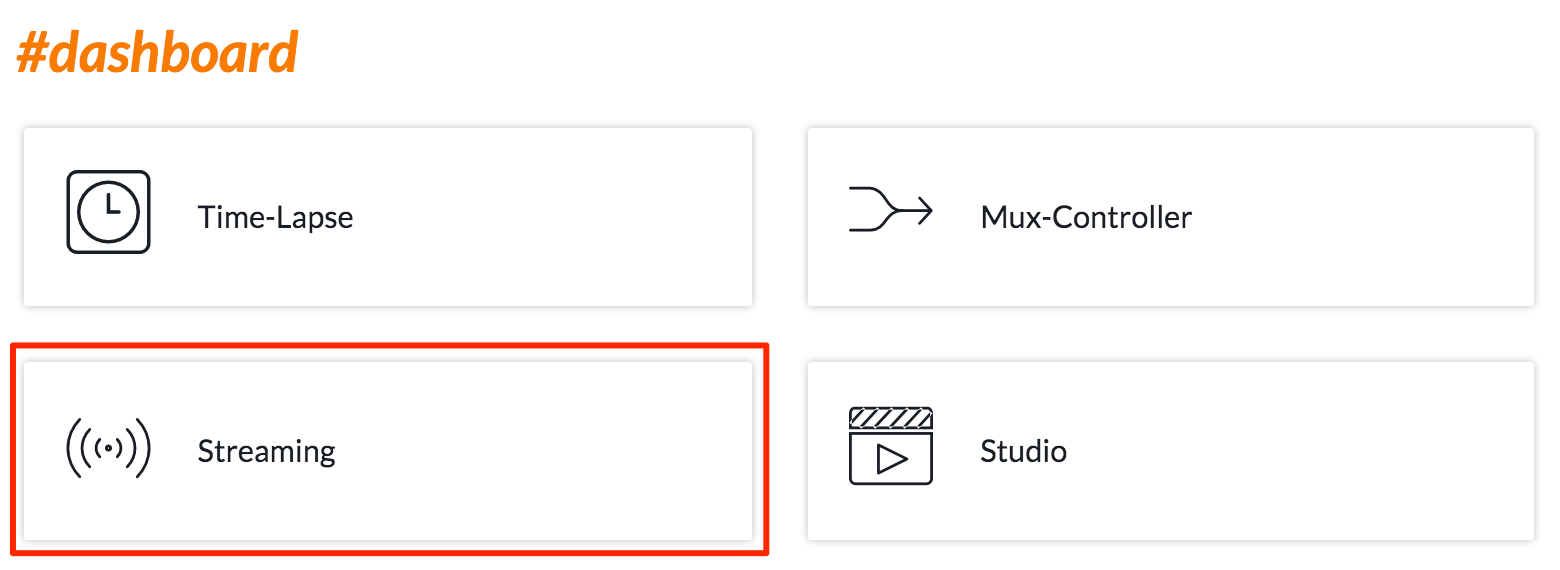
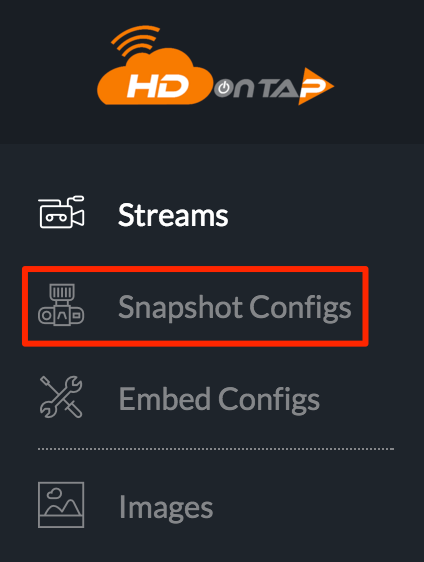
1. Log in to the HDOnTap Portal and navigate to Streaming > Snapshot Configs:
2. Click the ![]() to add a new snapshot.
to add a new snapshot.
Fill out the Add New Snapshot Config form and click Save Changes when finished.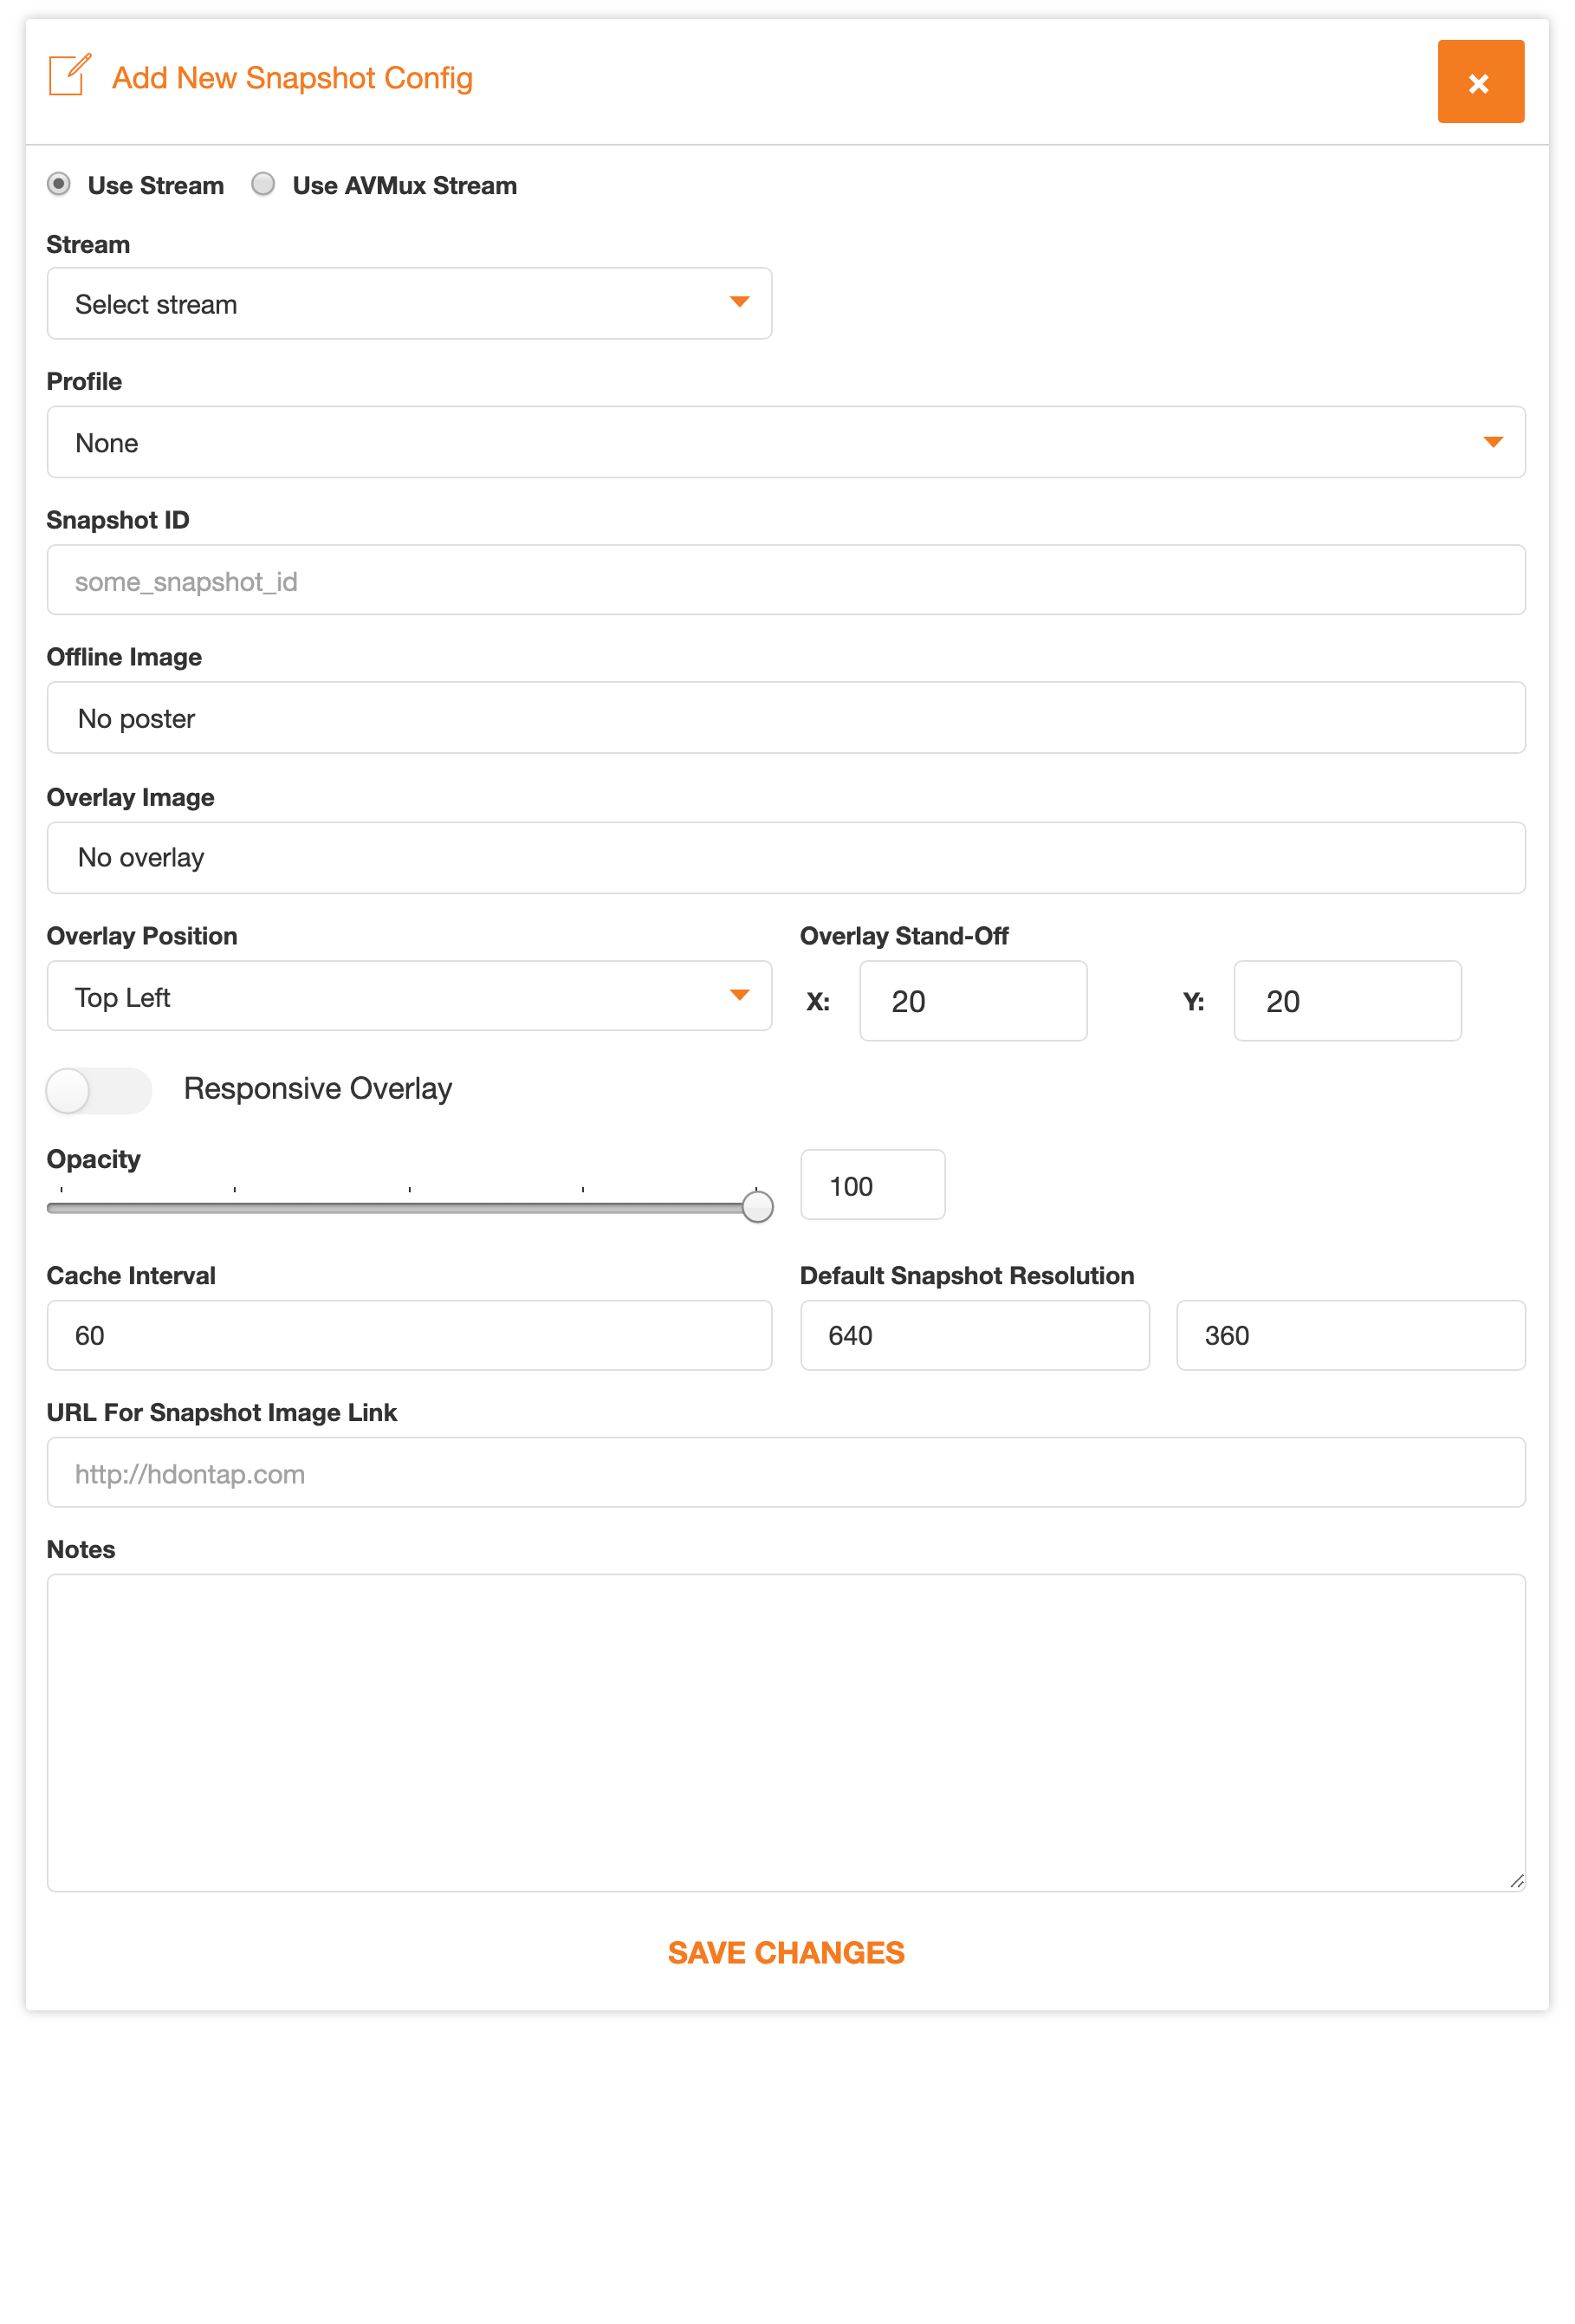
Note: If AVMux is enabled for your account, select the appropriate radio button (“Use Stream” or “Use AVMux”) for the embed you are creating.
Stream ID
Select your desired stream from the drop-down menu.
Snapshot ID
This will auto-populate with the name of the stream. We recommend that you append this with “-[descriptor]” so that you can easily determine what the embed is for. For example: redtailhawk_hdontap-SDNEWS
Offline Image (optional)
This will replace the live snapshot if your stream is offline. You may choose No Poster, the HDOnTap “Stream Offline” image (recommended), or upload a custom image.
Note: You must have previously uploaded the custom image you wish to use; click here for instructions on uploading images.
Overlay (optional)
An image that is displayed over the live stream snapshot.
Select the image you would like to use as your overlay from the Stream Overlay Image drop-down menu. Select the location of the overlay from the Overlay Position drop-down menu and set the Overlay Stand-Off X and Y values (the pixel distance from the top/bottom edge X and side edge Y of the player). Select Responsive Overlay to allow the overlay size based on the size of the snapshot.
Set the Opacity value for the overlay (0=invisible, 100=completely opaque).
Note: You must have previously uploaded any custom image you wish to use; click here for instructions on uploading images. For your convenience, HDOnTap has already uploaded a live bug: 
Cache Interval
This controls how frequently in seconds your snapshot updates. For example: entering a cache interval of “60” would refresh the image every 60 seconds.
Default Snapshot Resolution
This is the size of your image. If you would like to change the size from the default of 640 pixels by 360 pixels, we recommend you use our Resizing Tool.
URL for Snapshot Image Link
This is the URL that the snapshot will link to in the output code. We recommend you use the URL of the page where your live stream is hosted.
Notes/Description (optional)
Add any relevant notes or information about your snapshot.
3. Click the Snapshot ID or URL ![]() to preview your embed:
to preview your embed:
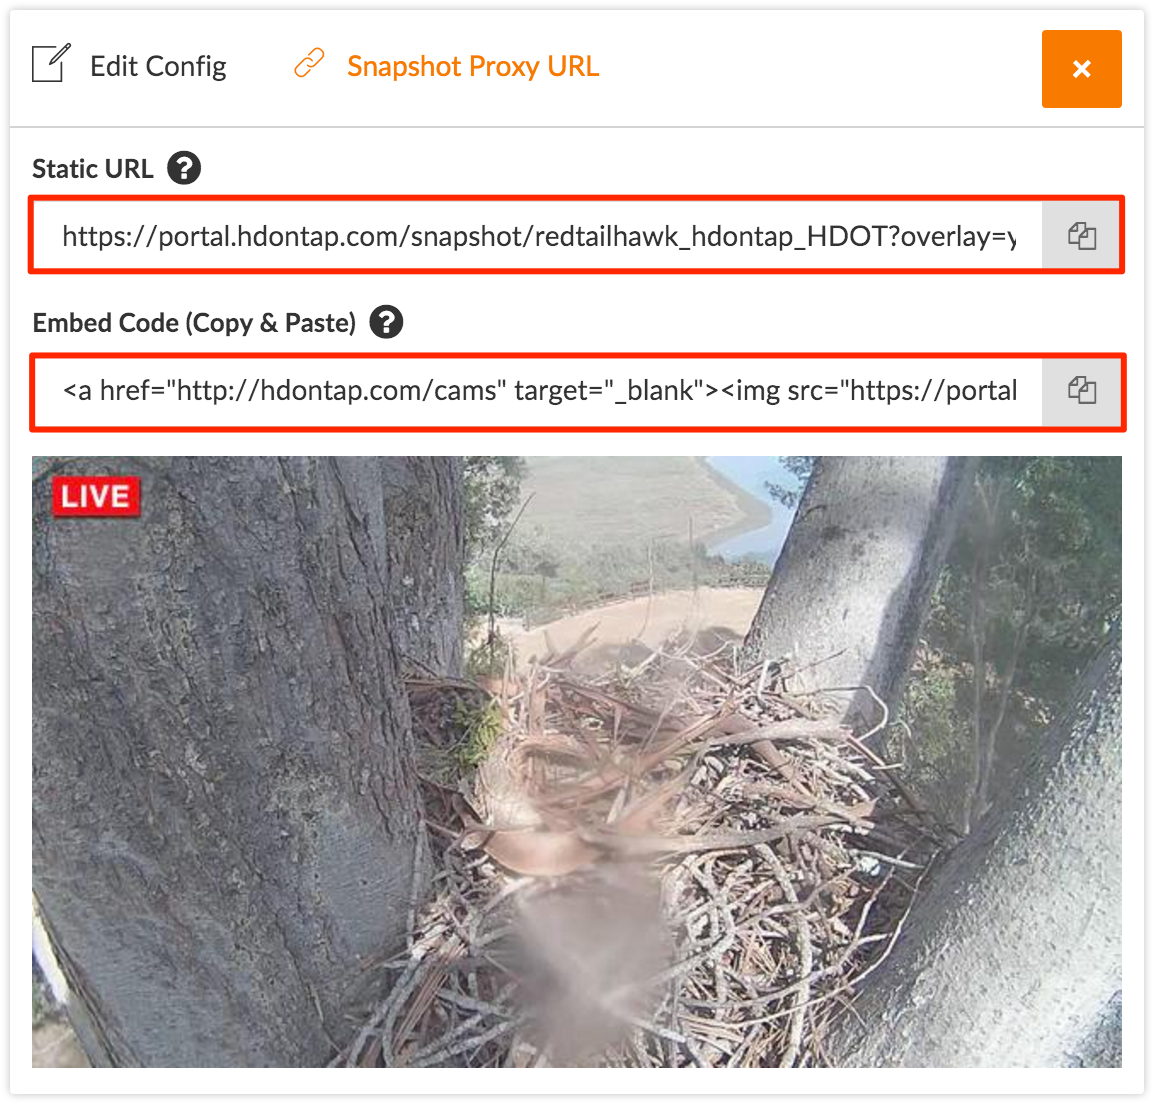
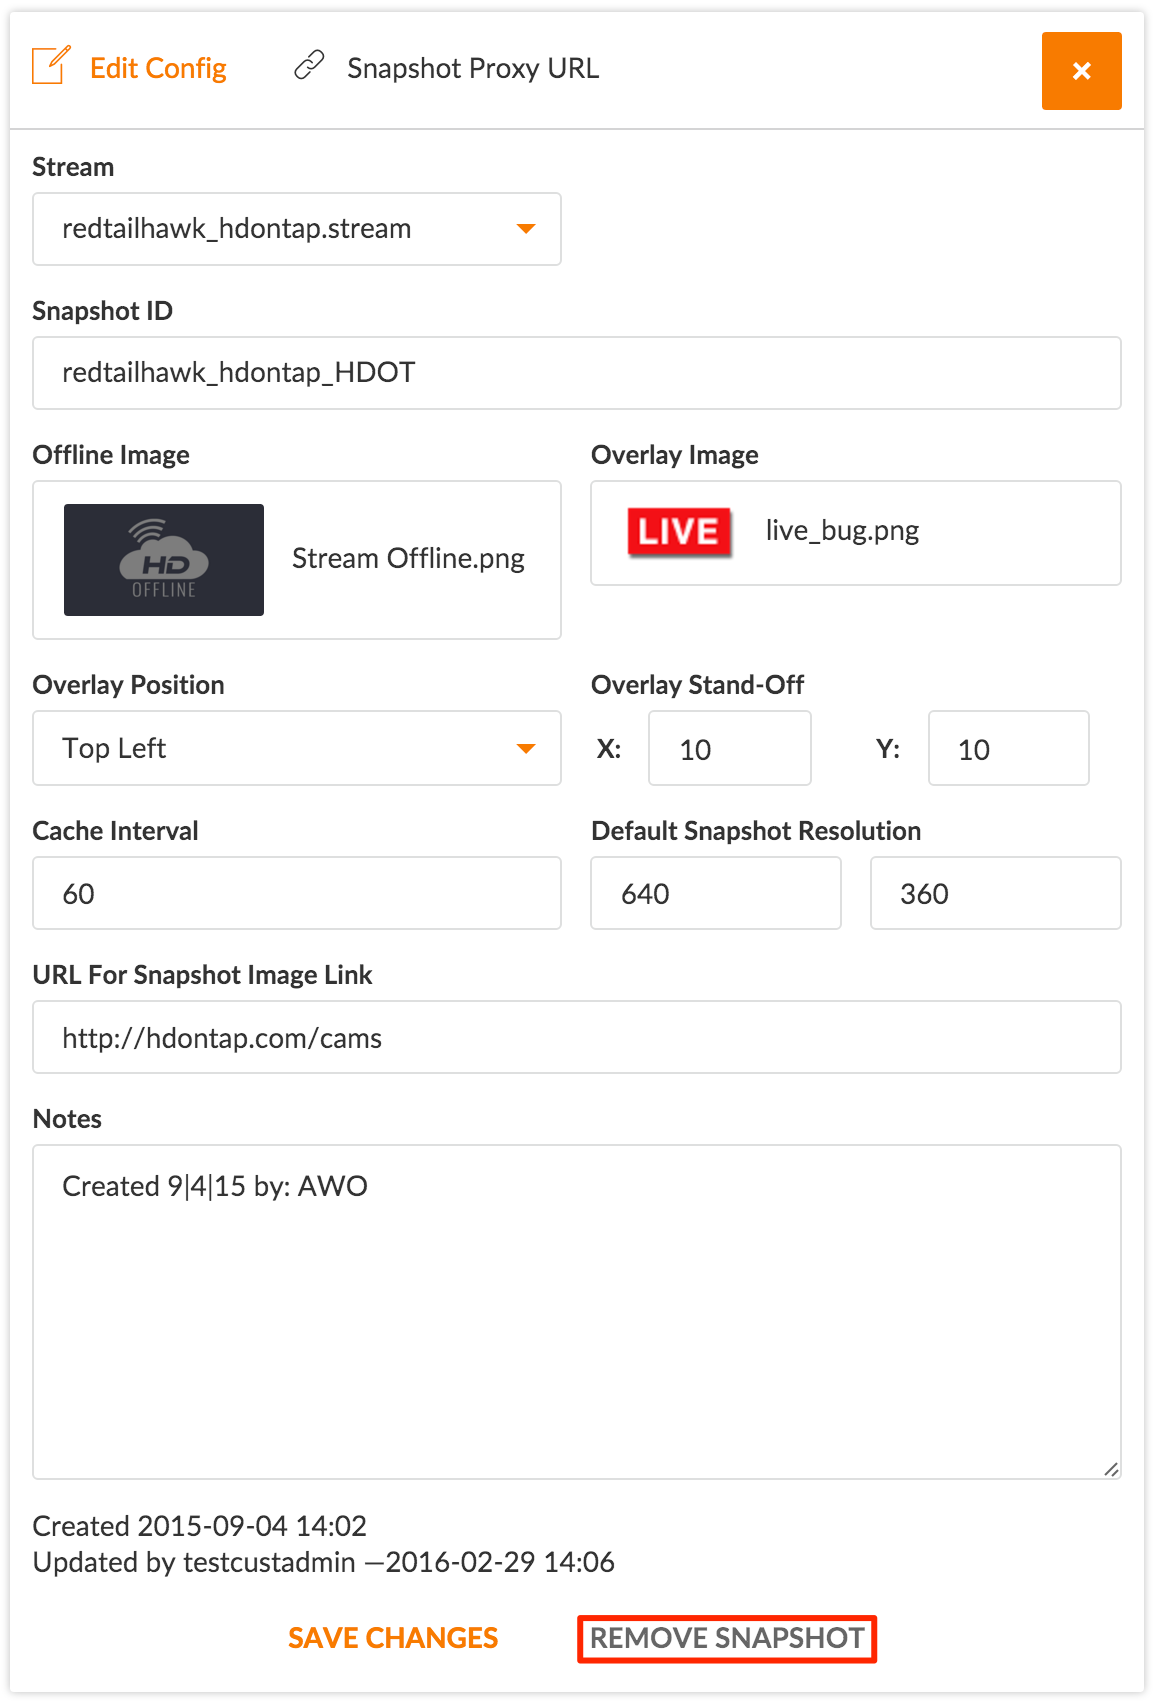
If you need to make any changes to your snapshot config, click Edit Config in the upper left-hand corner of the preview section, make changes, and click Save Changes when complete.
4. Copy either the Static URL or the Embed Code, then place it in the desired location on your site.
Static URL
This URL will display the Snapshot as it is currently configured and will NOT update if the Snapshot is edited in Portal.
Embed Code
Paste this embed code on your website. Any updates made to this Snapshot in Portal (for example: changing the overlay) will update automatically on your site.
Note: If you wish to update the URL that the snapshot links to, that will need to be updated within your website’s code – it will not automatically update if you make changes after embedding the Snapshot on your website.
Tip: You can click on the text or copy icon ![]() of either the Static URL or the Embed Code to copy them automatically. Otherwise, copy by highlighting the text then pressing Ctrl+C (PC) or ⌘+C (Mac). Paste the code by pressing Ctrl+V (PC) or ⌘+V (Mac).
of either the Static URL or the Embed Code to copy them automatically. Otherwise, copy by highlighting the text then pressing Ctrl+C (PC) or ⌘+C (Mac). Paste the code by pressing Ctrl+V (PC) or ⌘+V (Mac).
5. EDITING YOUR SNAPSHOTS
If you need to make any changes to your snapshot, click the edit icon ![]() , make any changes and click Save Changes when complete:
, make any changes and click Save Changes when complete:

6. DELETING YOUR SNAPSHOTS
Click the edit icon ![]() and click Remove Snapshot:
and click Remove Snapshot:
