PLAYER OVERLAY OPTIONS
OVERVIEW
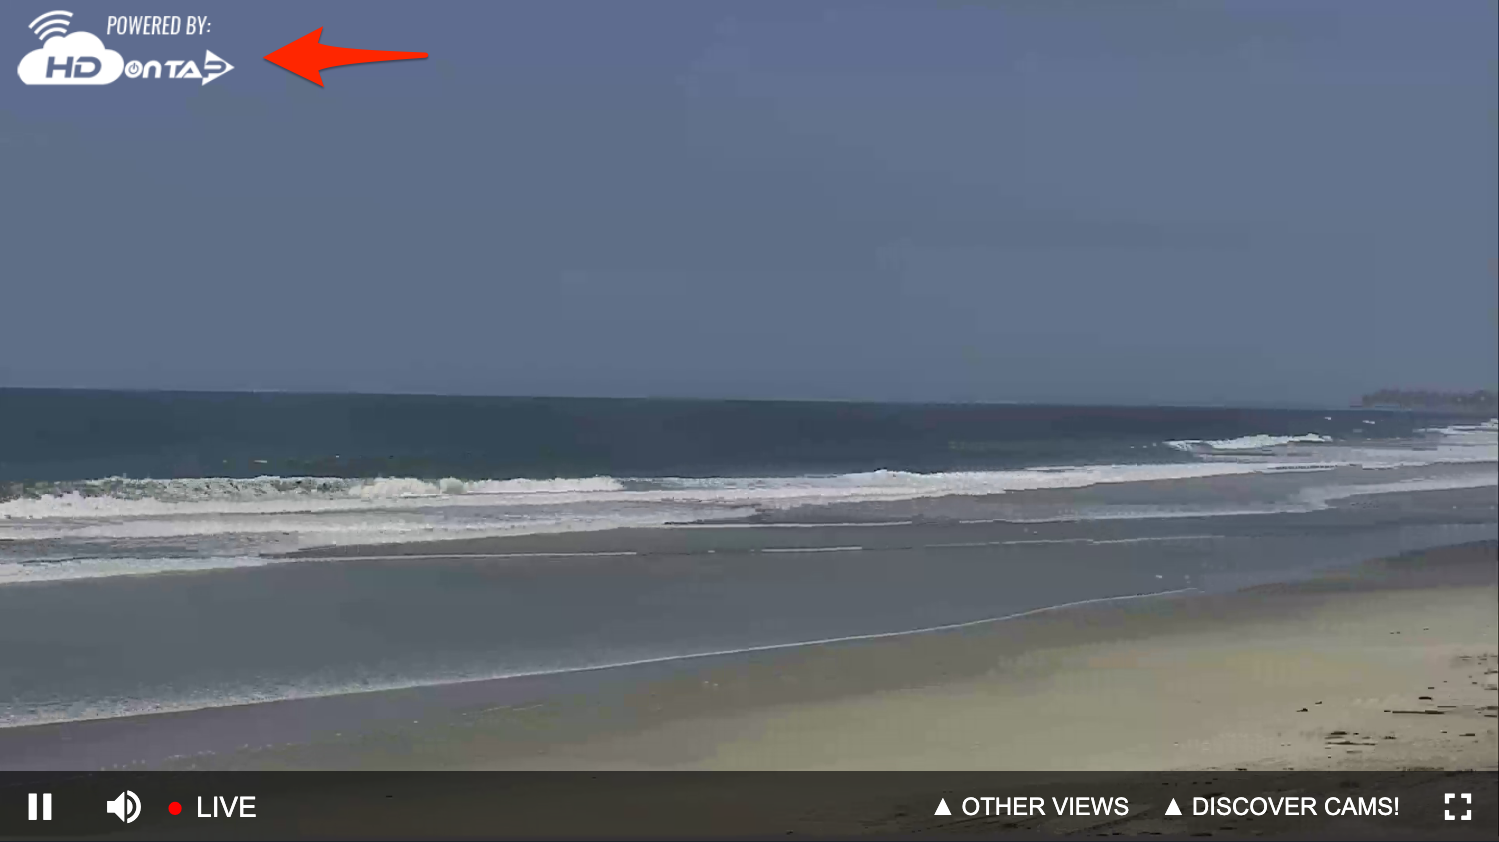
PREREQUISITES
- You must have your Portal login.
Contact your Customer Administrator or HDOnTap Support if you need assistance with your Portal credentials - You must have already uploaded your image.
VIDEO TUTORIALS
STEP-BY-STEP INSTRUCTIONS
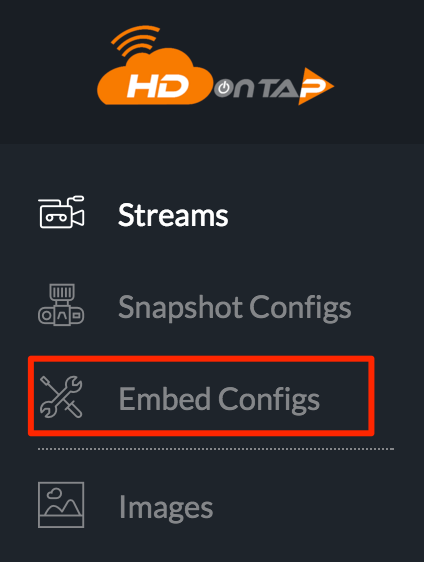
1. Begin by logging into the HDOnTap Portal and navigating to Streaming > Embed Configs: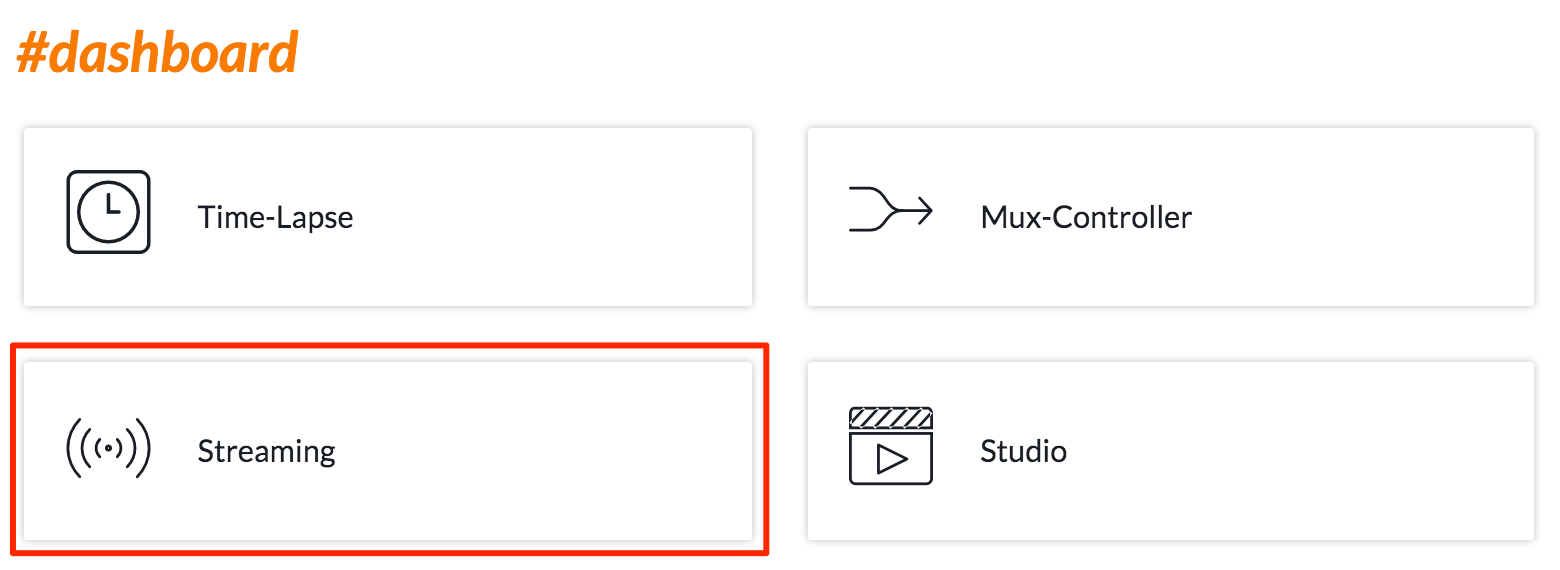
If you are creating a new embed config, follow these instructions. If you are editing an existing embed config, click the Edit Icon![]() for that config. In either case, set your Overlay preferences in the Overlay section:
for that config. In either case, set your Overlay preferences in the Overlay section:
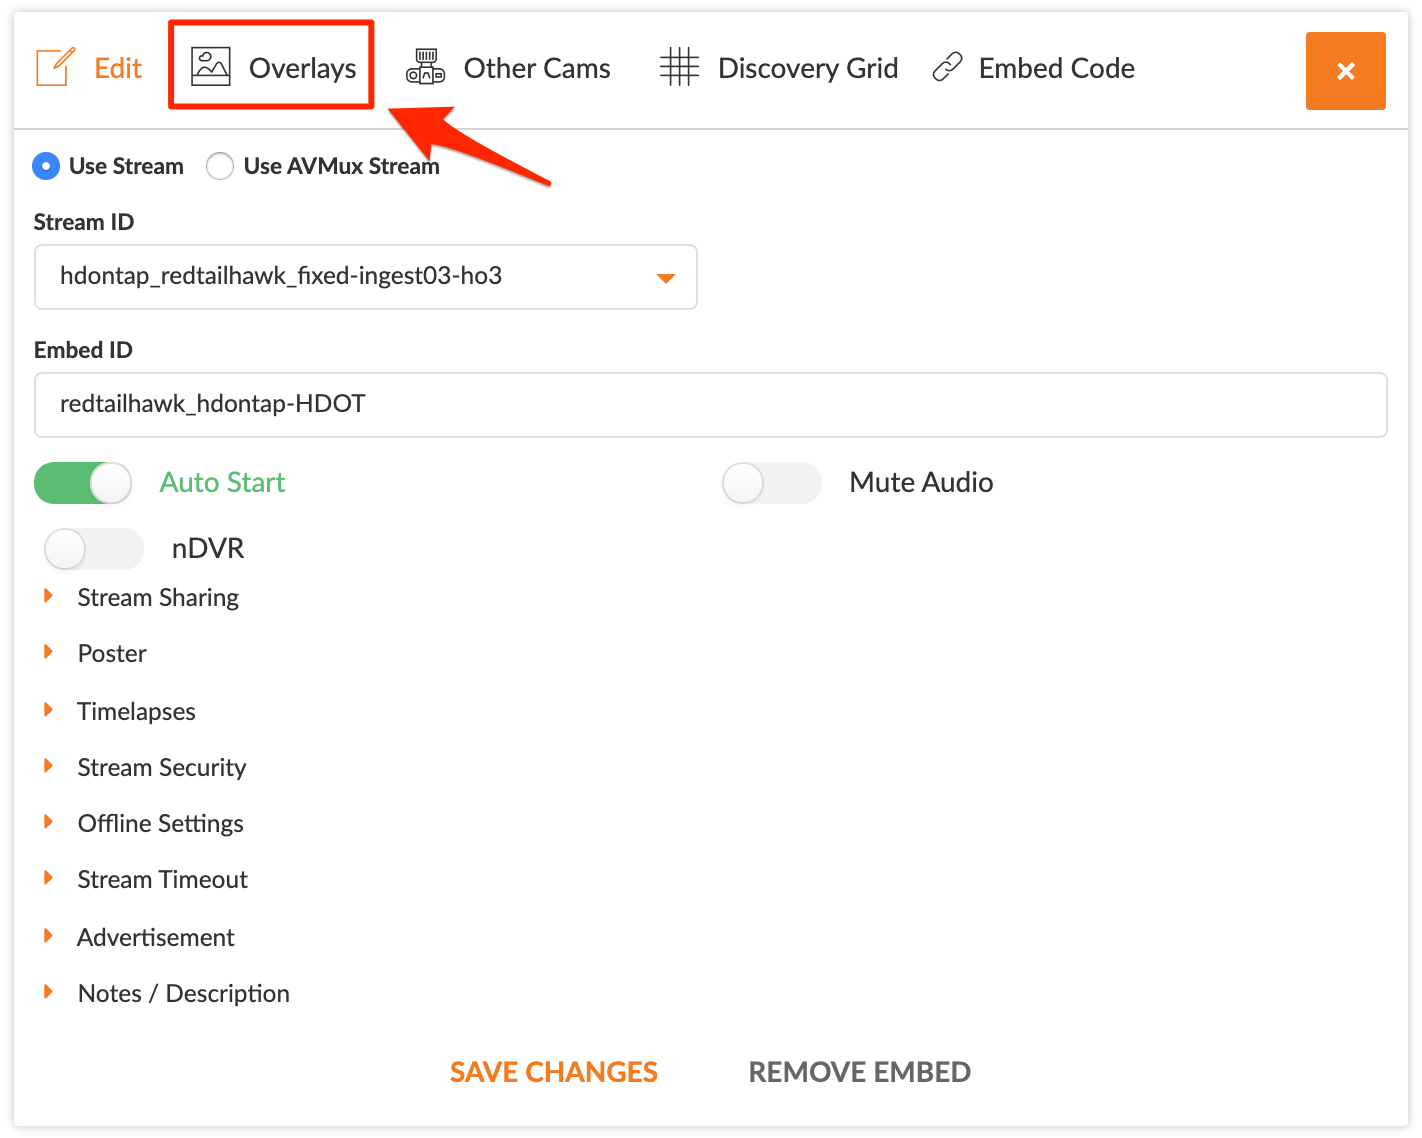
2. Choose Your Overlay Settings
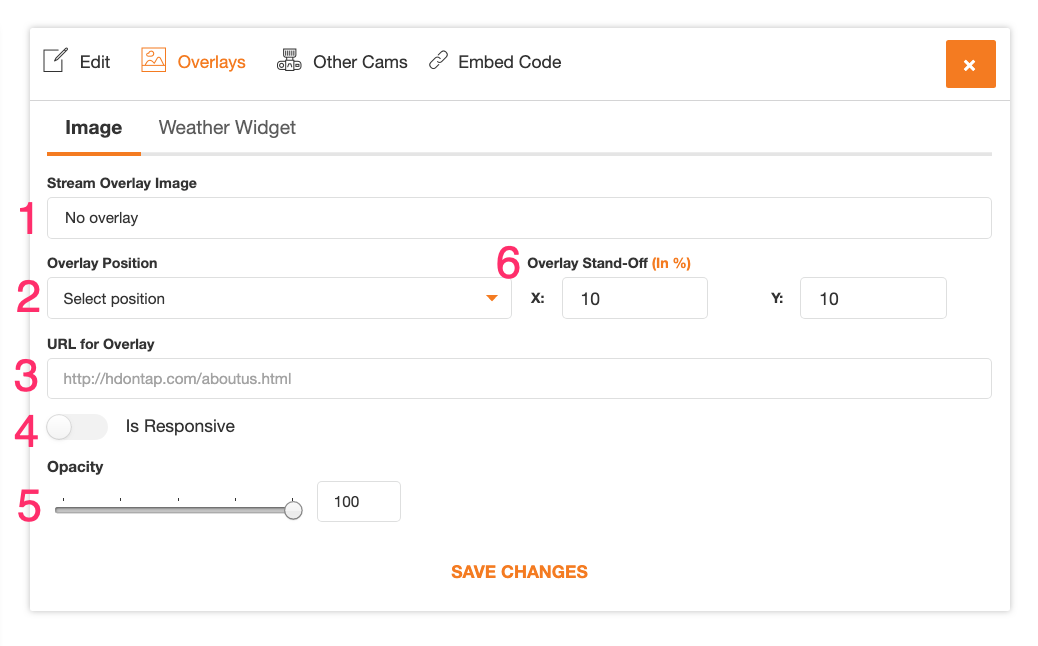
3. Select the image you would like to use as your overlay from the Stream Overlay Image drop-down menu. Click here for instructions on uploading images.
4. Select the location of the overlay from the Overlay Position drop-down menu.
5. Enter the (optional) website address that you would like to link to the overlay image in the URL for Overlay field.
Note: This must begin with “http://” or “https://”.
6. If you would like your overlay to increase in size with the player size, toggle on the Is Responsive option. See below for more information on responsive settings.
Here is an example of responsive scaling:
7. Set the Opacity for the overlay (where 0 is invisible and 100 is completely opaque).
8. Set the (optional) Overlay Stand-Off (In %) to move the overlay image away from the edges of the player. By default we recommend using no value in the overlay stand-off fields unless you need to re-position the overlay.
RESPONSIVE SETTINGS:

- Set the Max Width (In Pixels) – this is the maximum width that the overlay will scale to.
- Set the X-Size (In %) – this is the percentage of the player width that the overlay will be until it reaches the Max Width. For example, “10” means that the overlay will be 10% of the width of the player.
WEATHER WIDGET:
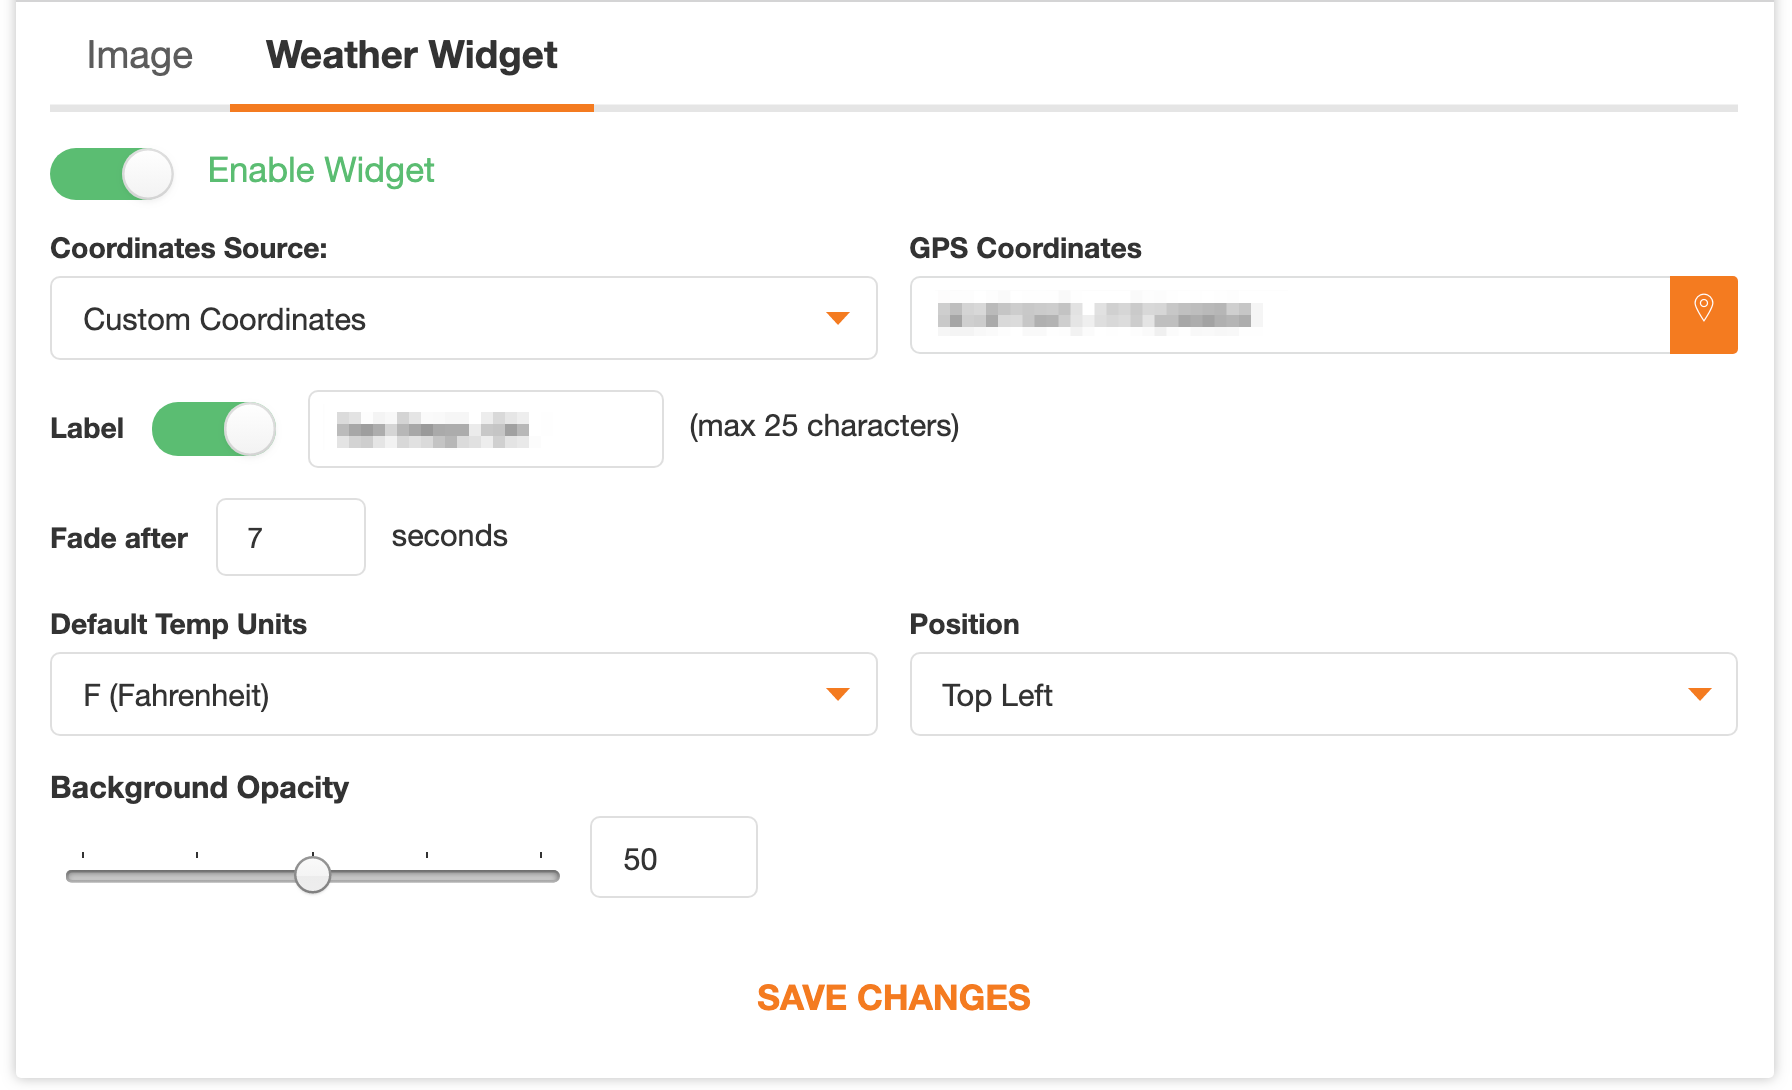
- Click (optional) Enable Widget to turn the Weather Widget on/off.
- Select from the drop down a Coordinates Source to select a source for GPS coordinates, use the device GPS coordinates or enter custom GPS coordinates.
- Put your custom GPS Coordinates in this field if you have custom coordinates set as your source.
- Title the weather widget with the Label field. This turns on a title/header for the widget with the text in the right input field.
- Set a Fade After value, this will set the time to fade value for the weather widget.
- Default Temp Units will adjust the measurement units of the displayed temperature.
- Select a Position of the anchor for the widget from the drop down menu. If a position is greyed-out it is already in use by the image overlay.
- Adjust the Background Opacity of the dark box behind the weather widget.
