
OVERVIEW
Once your time-lapse is configured and generating, you will need to place a line of HTML code on your website; this is how your website will display your time-lapse player. We use an iFrame as opposed to directly embedding the player on your website so that newly generated clips will be dynamically included on your website, meaning that you will not need to add additional code every day.
PREREQUISITES
- You must have your Time-Lapse login.
Contact your Customer Administrator or HDOnTap Support if you need assistance with your Time-Lapse credentials.
STEP-BY-STEP INSTRUCTIONS
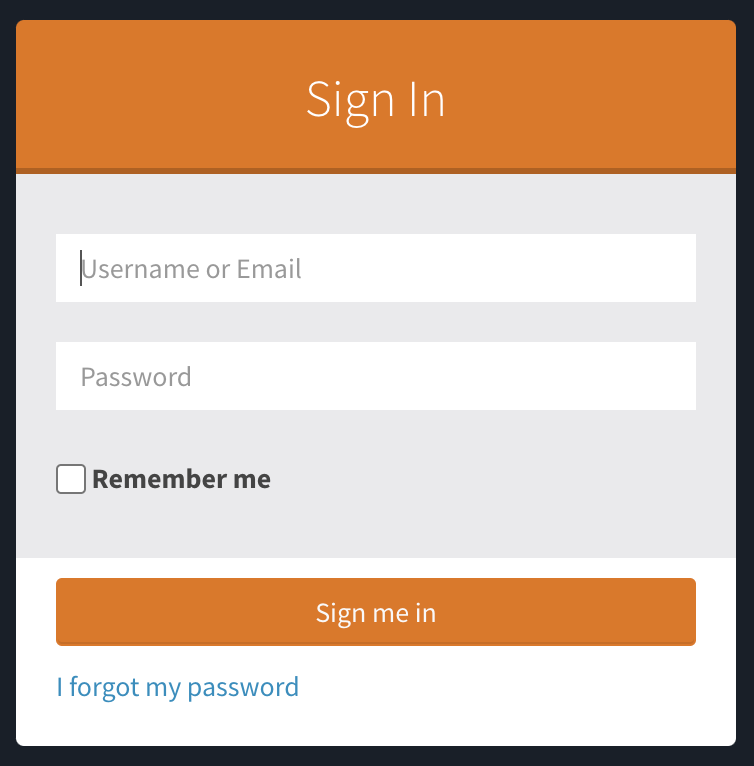
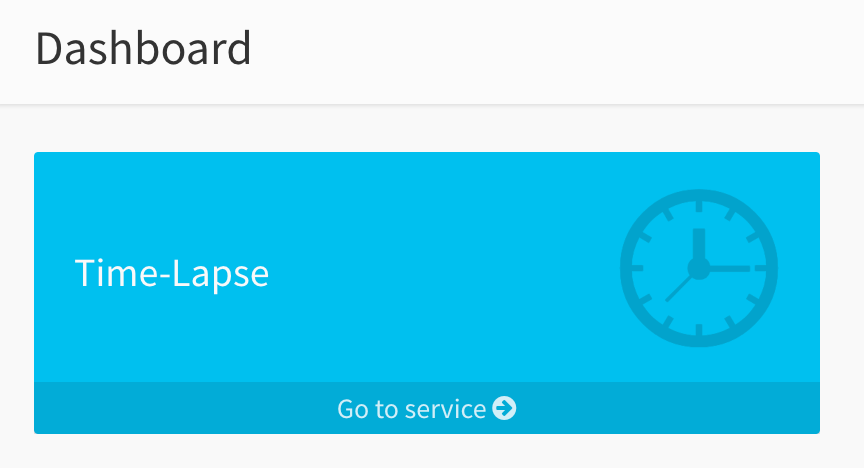
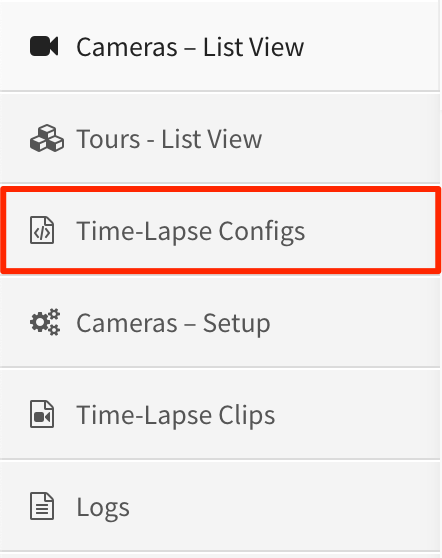
1.Log into the HDOnTap Time-Lapse Portal and navigate to the Time-Lapse Service > Time-lapse Configs:
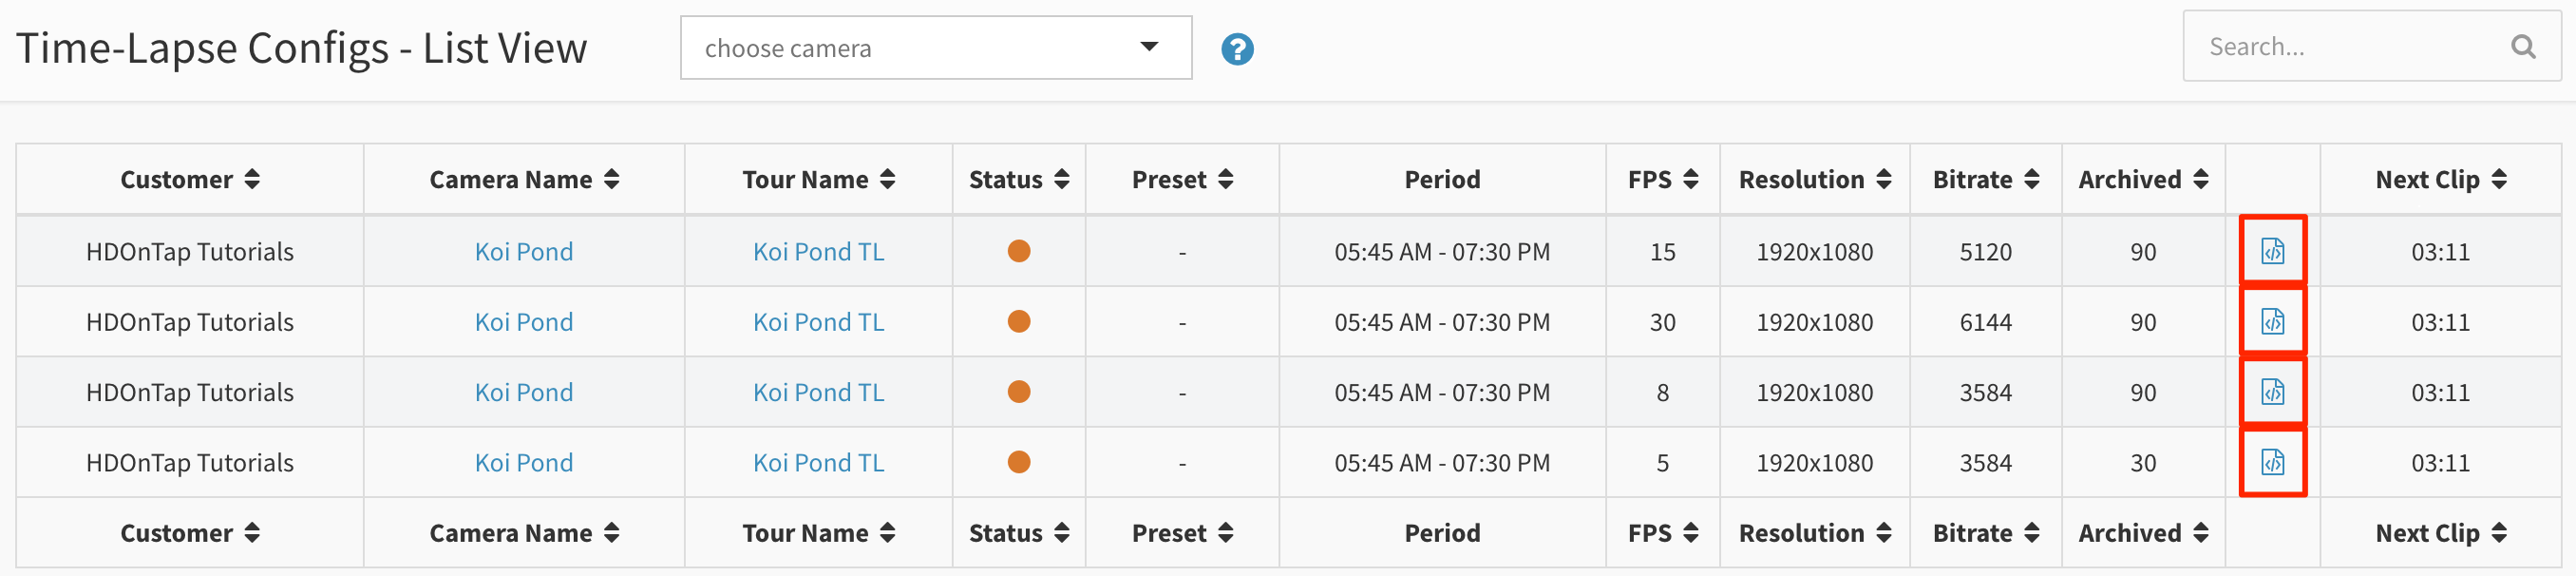
2. Click the embed icon for the embed you would like to add to your website:
3. Copy the iFrame embed code.
Tip: Copy the code by highlighting the text and pressing Ctrl+C (PC) or ⌘+C (Mac). Paste the code by pressing Ctrl+V (PC) or ⌘+V (Mac)

- Once you have the iFrame embed code, open your website in your preferred HTML Editor (for example, Adobe Dreamweaver).
Note: If you are using a CMS, you may need to access the source code where you would like to add the camera (contact your website administrator for further assistance). - Paste the iFrame embed code in the desired location on your site. Save your changes to your website and refresh. Your player should now be live on your site!
Tip: Paste the code by pressing Ctrl+V (PC) or ⌘+V (Mac).Change the width and height parameters as necessary.
For example, to make the player 1280 pixels wide by 720 pixels high, you would make the following edits:
Original Code:<iframe width="640" height="360" src="https://timelapse.hdontap.com/embed/151"></iframe>Updated Width/Height:
<iframe width="1280" height="720" src="https://timelapse.hdontap.com/embed/151"></iframe>