STREAM EMBED SECURITY
OVERVIEW
PREREQUISITES
- You must have your Portal login.
Contact your Customer Administrator or HDOnTap Support if you need assistance with your Portal credentials.
VIDEO TUTORIAL
STEP-BY-STEP INSTRUCTIONS
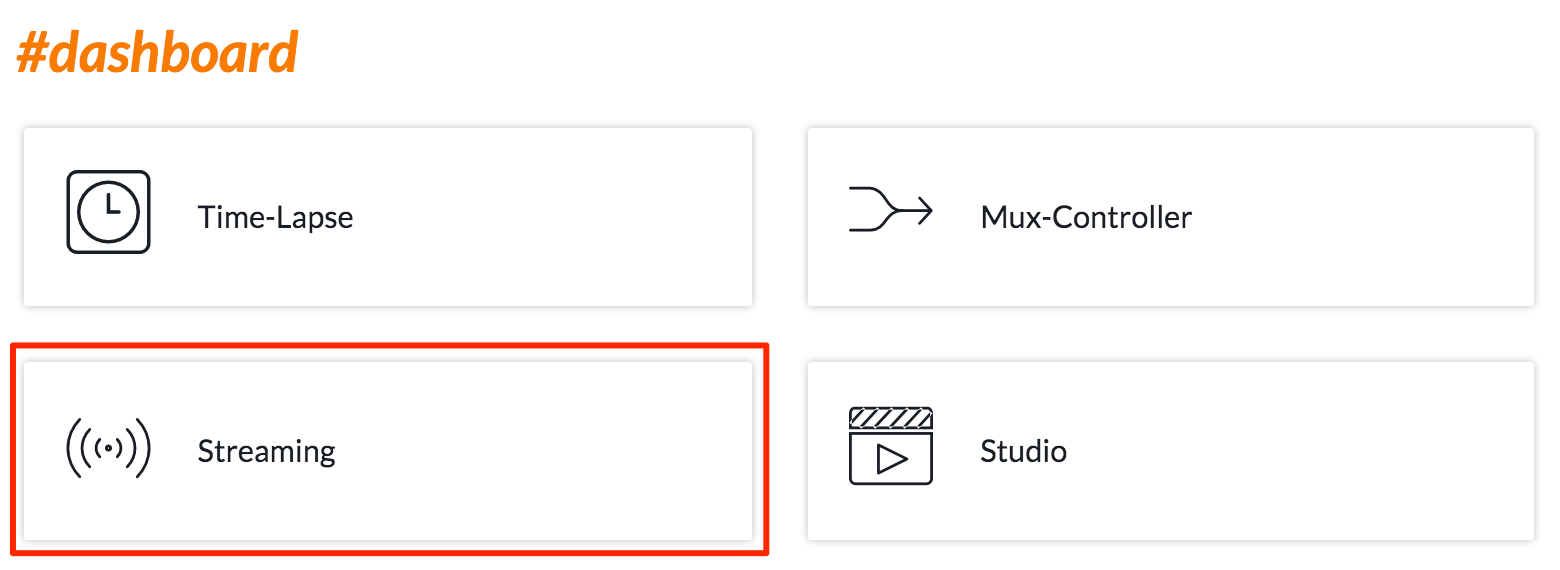
1. Log in to the HDOnTap Portal and navigate to Streaming > Embed Configs:
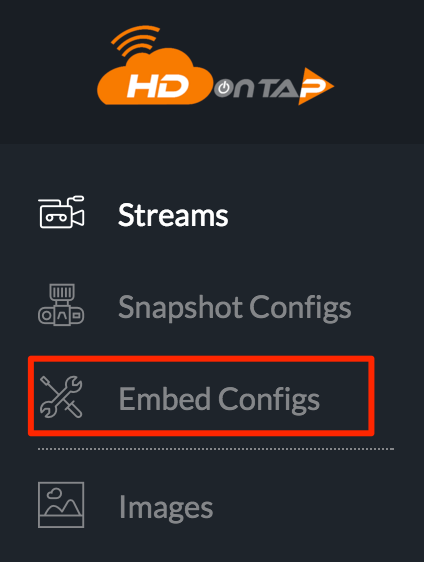
If you are creating a new embed config, follow these instructions. If you are editing an existing embed config, click the edit icon ![]() for that config. In either case, set your security preferences in the Stream Security section:
for that config. In either case, set your security preferences in the Stream Security section:
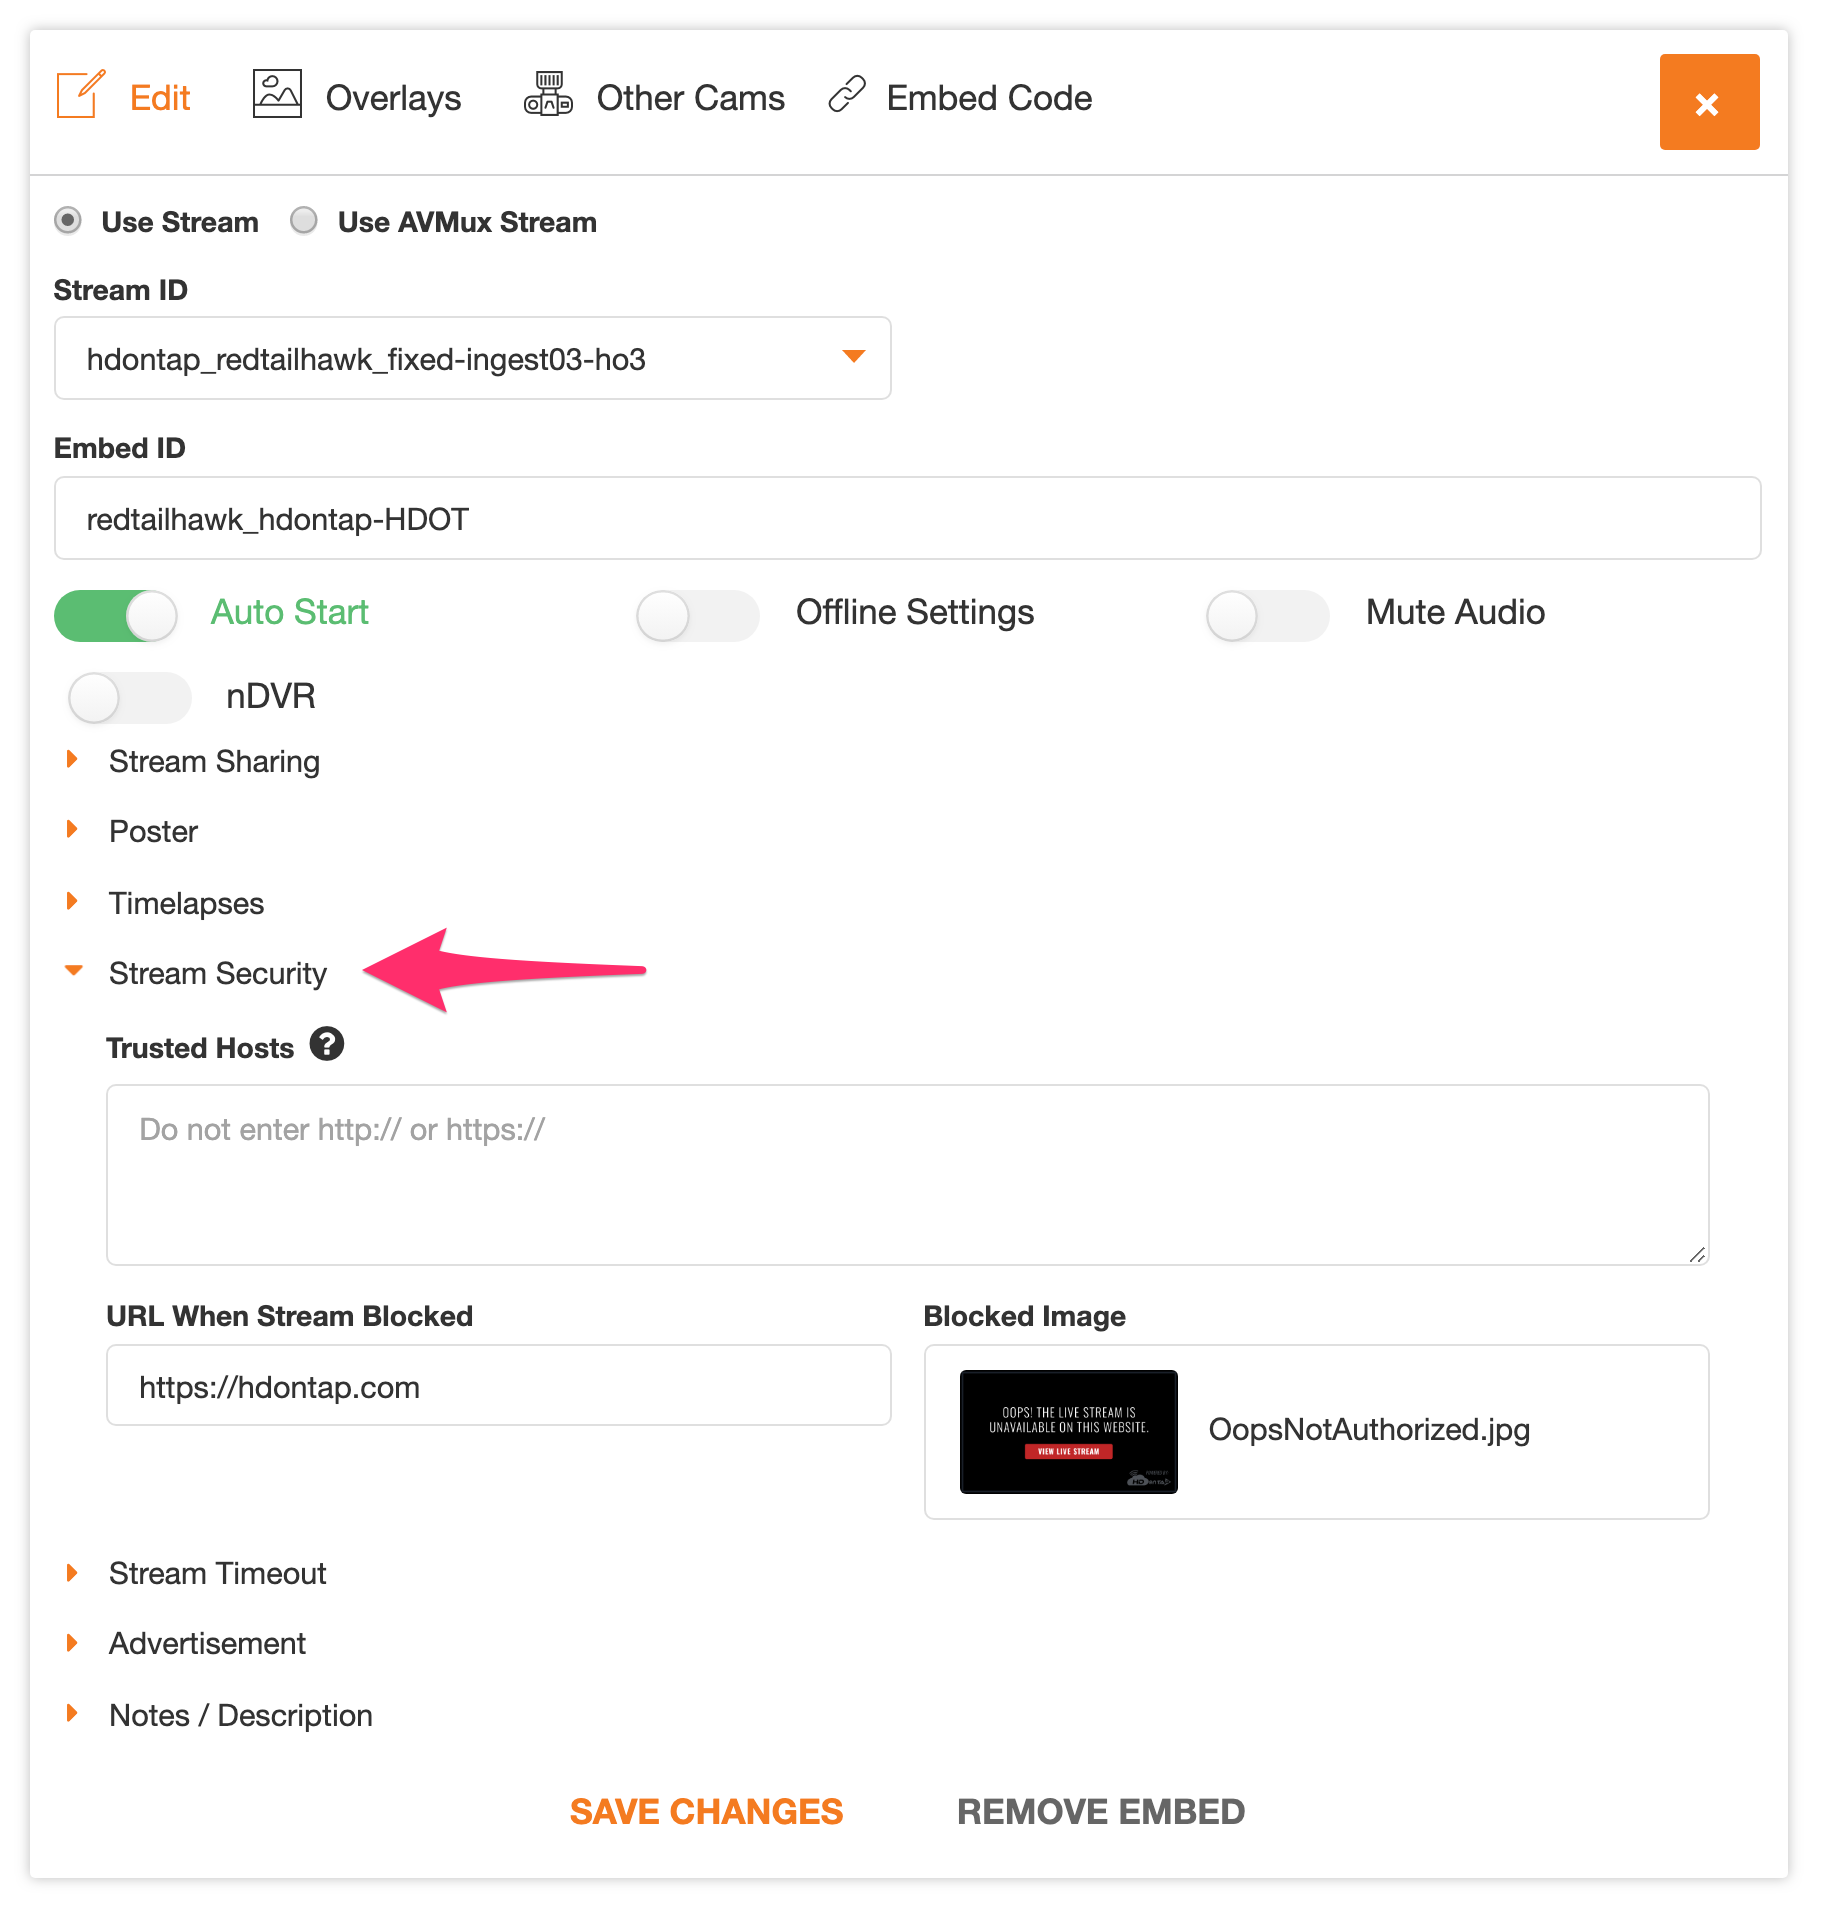
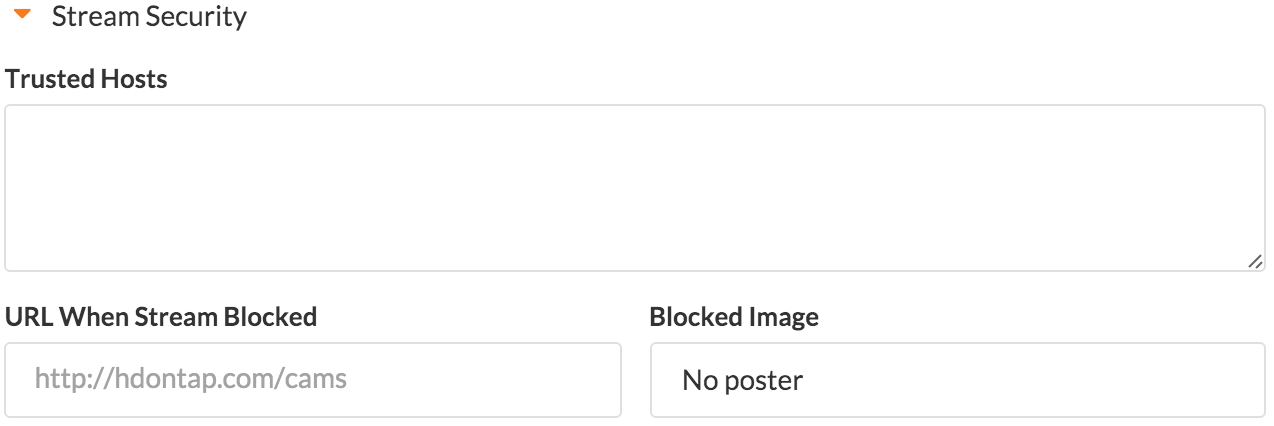
2. Enter the website(s) authorized to embed your stream in the Trusted Hosts field. Enter your domain without the “http://”, both with and without the “www.”, separated by a comma. Subdomains need to be explicitly included.
For example: hdontap.com, www.hdontap.com, livecam.hdontap.com
Special Instructions For Wix Websites:
If you are placing your embed on a Wix website, you will need to whitelist the following URLS, replacing “somename” with your Wix site name:
- somename.filesusr.com
- somename-wixsite-com.filesusr.com

3. Enter the link viewers will be directed to when they click in the window if the screen is blocked in the URL When Stream Blocked field.
Tip: We recommend you use the URL for the page on your website where your stream is embedded.

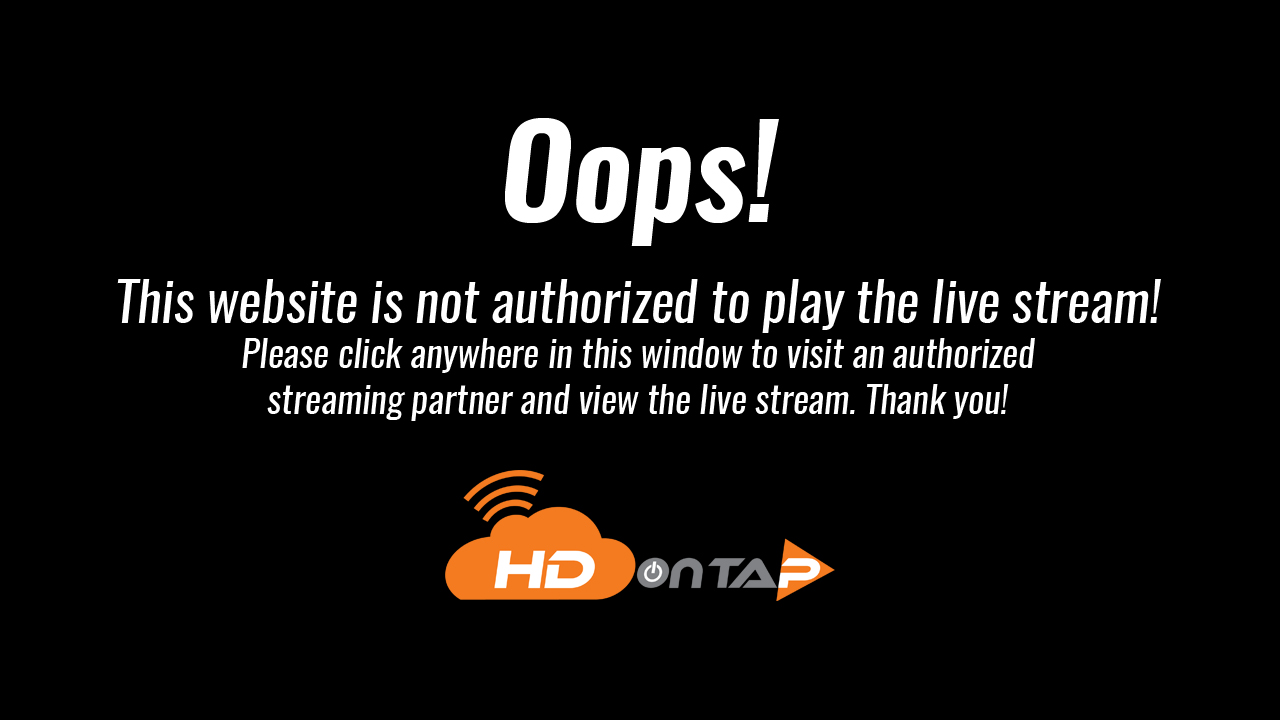
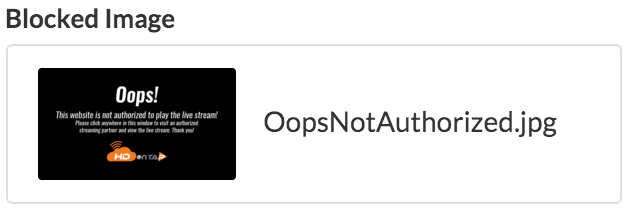
4. Select the image that will display when your stream is embedded on an unauthorized page in the Blocked Image drop-down.
Note: We have created the “Oops! Not Authorized” message for your convenience, however, you may upload a custom image if you prefer. Click here for instructions on uploading images.
5. Click Save or Save Changes when finished.
