
Overview
You have the ability to customize and brand your stream embed with social sharing, image overlays, stream security controls and more. You can also create an unlimited number of differently configured embeds for whatever purposes you require. This will come in handy if you are sharing your stream with a news agency or partner website.
Prerequisites
- You must have your Portal login. Contact your Customer Administrator or HDOnTap Support if you need assistance with your Portal credentials.
Step-by-step instructions
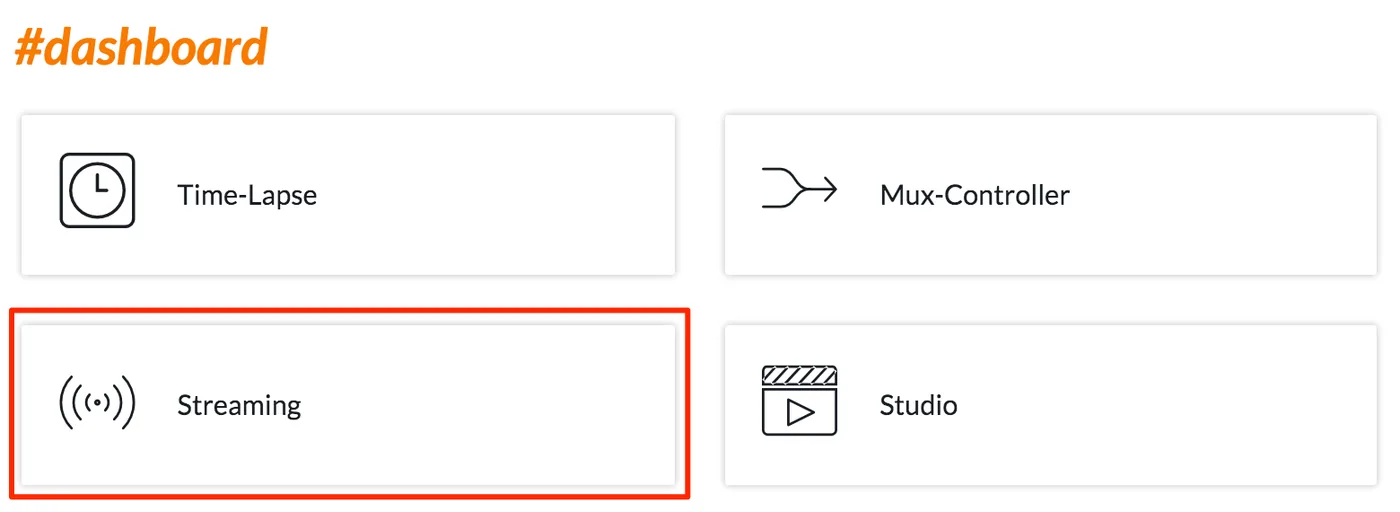
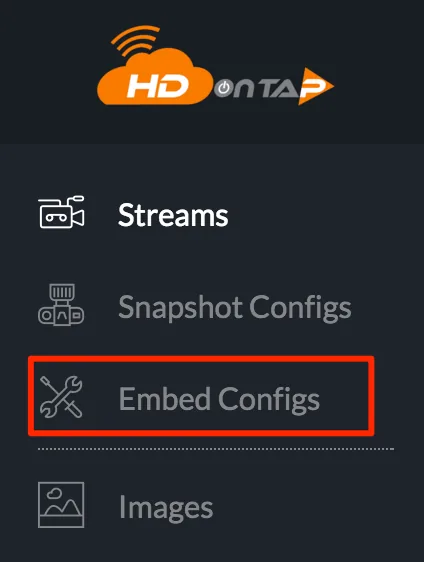
1. Log in to the HDOnTap Portal and navigate to Streaming > Embed Configs:
2. Click the  to add a new stream embed.
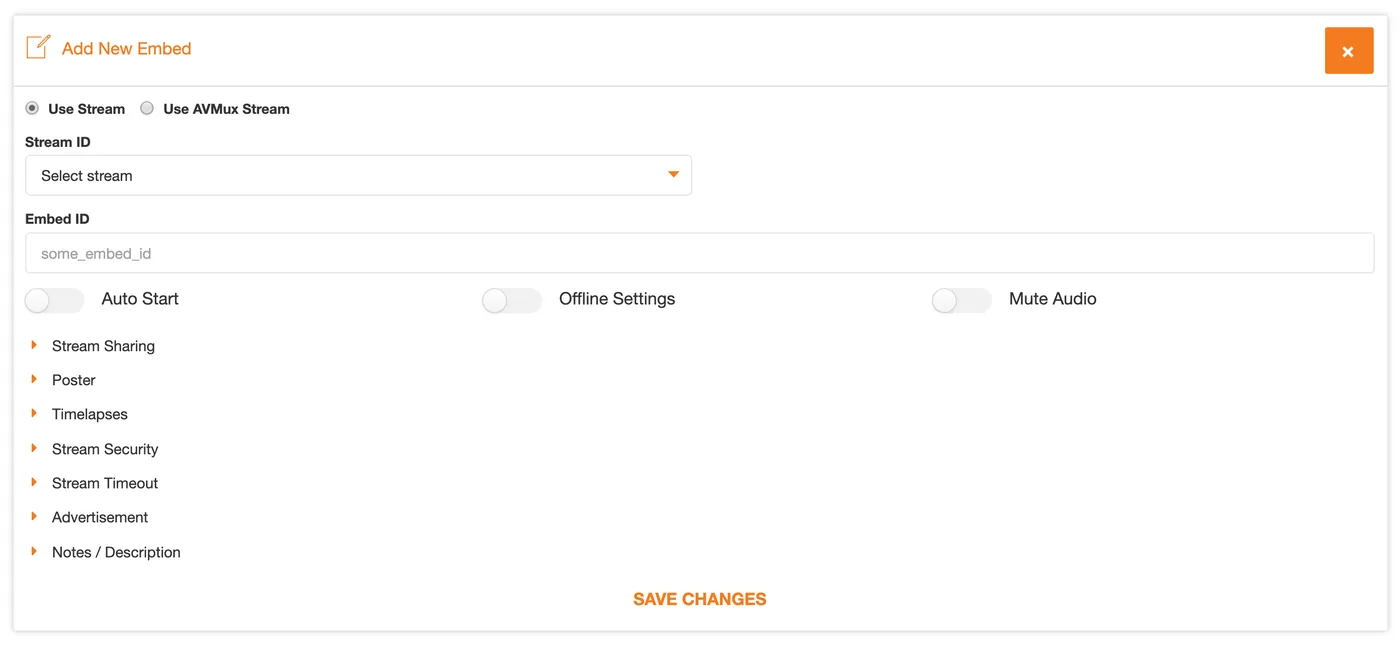
3. Fill out the Add New Embed form and click Save Changes when finished. Note: AVMix (which combines separate audio and video streams) is set up by HDOnTap staff for now. If you would like AVMix for your account, contact support at 858.481.4096, Option 2. If AVMix is already enabled, select the appropriate radio button (“Use Stream” or “Use AVMix”) for the embed you are creating.
Stream ID
Select your desired stream from the drop-down menu.
Embed ID
This will auto-populate with the name of the stream. We recommend that you append this with “-[descriptor]” so that you can easily determine what the embed is for. For example: redtailhawk_hdontap-SDNEWS
Toggles
Auto Start starts playing the stream upon loading, instead of first having to press play.
Note: Please be aware that internet standards at large are trending away from autoplay video. Auto Start is not guaranteed to function on all websites or devices.
Mute Audio mutes the stream by default.
Stream Sharing (optional)
These settings add Facebook and X icons to the embed for social sharing. Enable Stream Sharing must be toggled on.
Note: Social customization is only available for X as it is against Facebook’s policy to pre-populate a post on behalf of the user.
URL: The URL that the Share icon directs to. “Stream Sharing” must be toggled on to populate this field.
X Share Settings: Customize the text that is displayed by default when sharing your embed as a post on X (formerly Twitter).
Poster (optional)
An image that is displayed while the stream is loading. You may choose the Snapshot, a custom image, or no image.
Time-lapses (optional)
A toggle for enabling time-lapse clips will add a small icon to the bottom bar of your stream embed that will allow viewers to check the last X days of time-lapse clips, where X is the value of Show Movies For Last X Days. Time-Lapse has to be set up for your camera in the Time-Lapse portal for this feature to work. Time-Lapse Icon added to your embed player: 
Stream Security (optional)
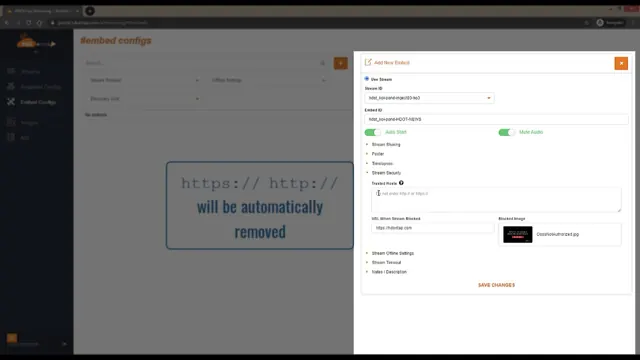
This allows you to control where your stream can be embedded online. For more detailed instructions, see Embed Security/Trusted Hosts.
Stream Offline Settings (optional)
This allows you to customize your offline message. By turning the toggle on you can select from one of the two options to display when your stream is offline. The options are an error message that can be customized or a poster image that you have uploaded. For help uploading an image, see Uploading Images to the Portal.
Stream Timeout (optional)
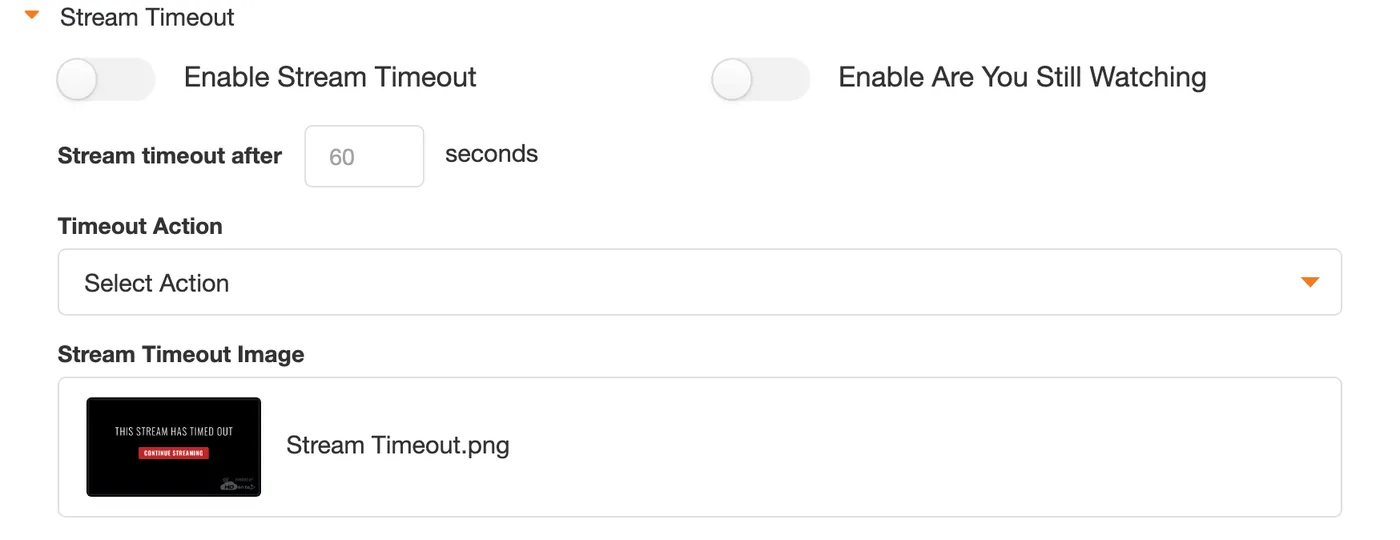
Toggling Enabling Stream Timeout ends the live stream after Timeout After value has elapsed.
If Enable Are You Still Watching is toggled on, the viewer will be prompted to click on the player to continue watching after the time value.
Select the desired Timeout Action (either Continue the Stream or Redirect to a URL).
Note: Redirect to a URL is a great way to allow other websites to showcase your embed and ultimately redirect viewers to your website.
You may either use the default Stream Timeout Image or upload and select your own custom timeout image.
Notes/Description (optional)
Add any relevant notes or information about your embed.
4. Click the name of the stream embed to preview your embed:
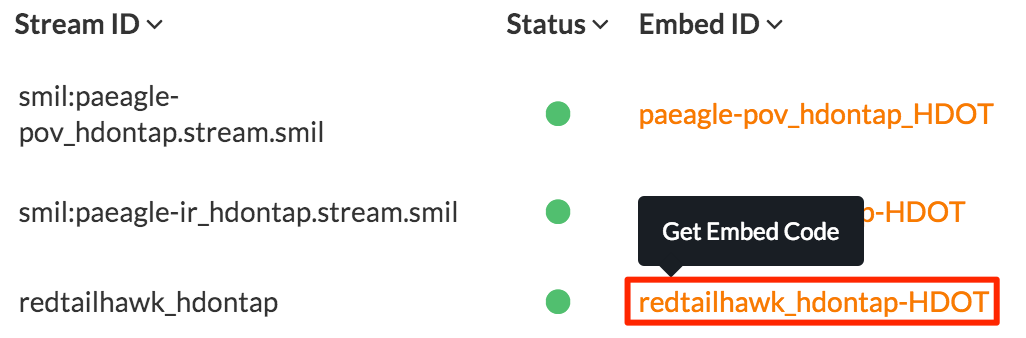
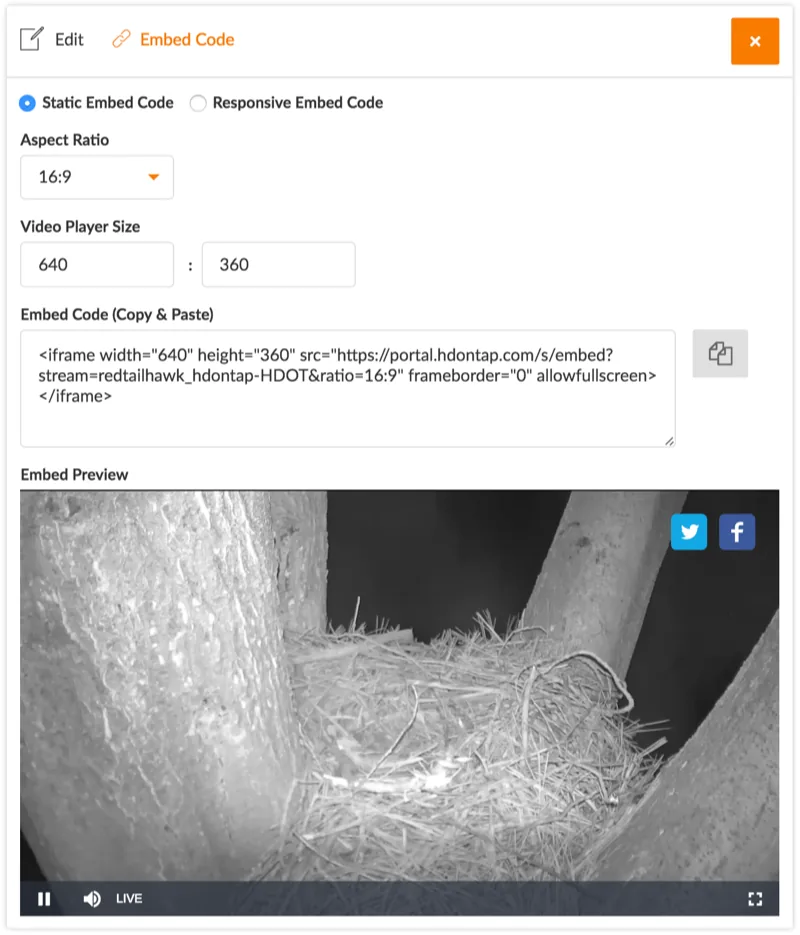
If you need to make any changes to your embed config, click Edit in the upper left-hand corner of the preview section, make changes, and click Save Changes when complete.
Still need help?
Contact the HDOnTap support team at [email protected] or submit a support request.