STREAMING TO TWITCH
OVERVIEW
HDOnTap supports CDN Streaming to Twitch, enabling you to simultaneously stream directly to a Twitch channel.
PREREQUISITES
- You must be an Admin.
- You must have your Portal login.
Contact your Customer Administrator or HDOnTap Support if you need assistance with your Portal credentials. - Customer Control must be enabled for your stream.
Contact HDOnTap Support if you are unable to edit your stream. - Stream Targets must be enabled for your account.
Contact HDOnTap Support if you need to enable stream targets for your account. - Your stream must have audio, or be configured to provide silent audio.
Contact your HDOnTap Support if you need assistance with configuring silent audio. - You must have a Twitch account.
VIDEO TUTORIALS
STEP-BY-STEP INSTRUCTIONS
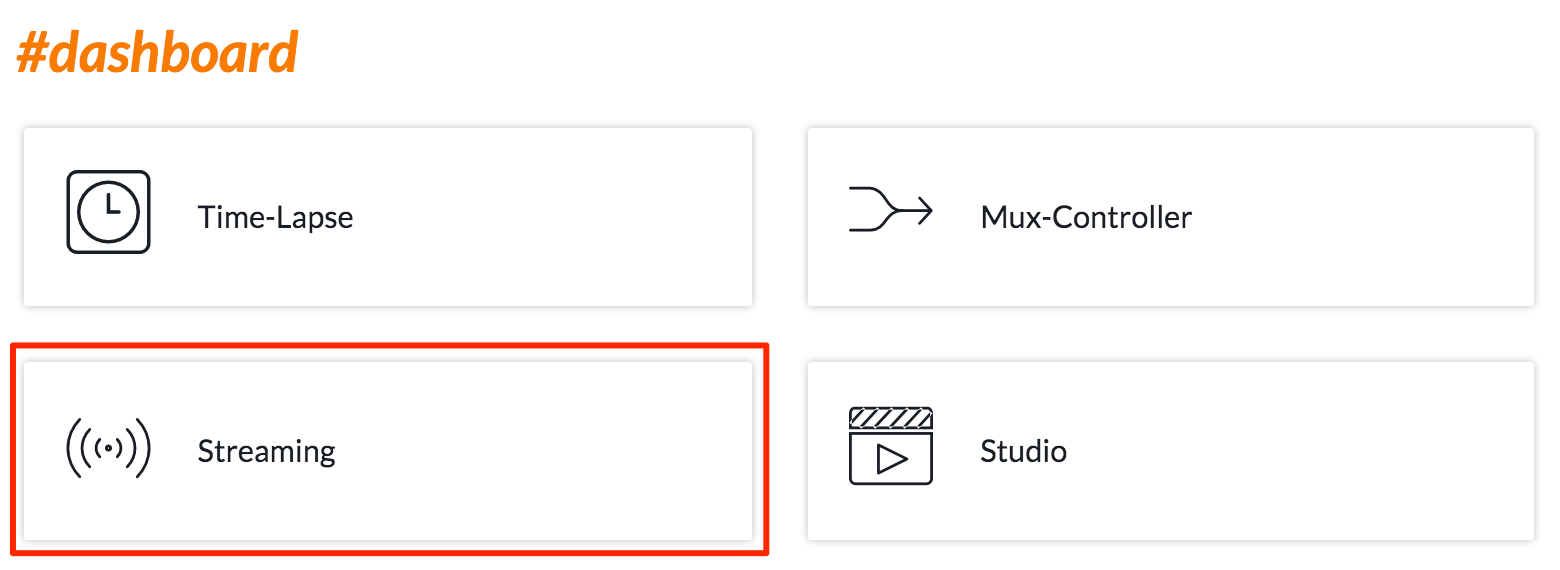
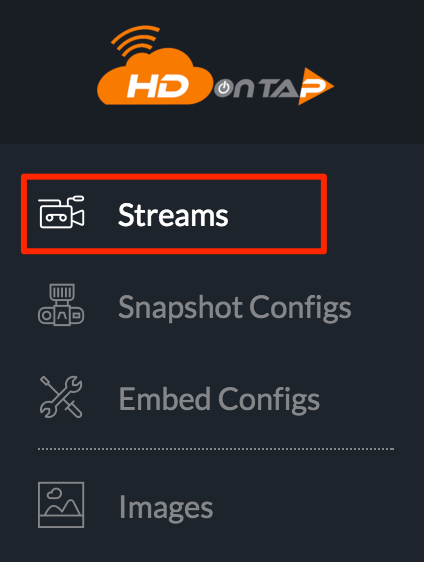
1. Log in to the HDOnTap Portal and navigate to Streaming > Streams:


2. Click the gear icon ![]() and click the stream target icon
and click the stream target icon ![]() for the stream you would like to send to Twitch
for the stream you would like to send to Twitch
3. Click Add New Stream Target and select Twitch from the drop-down menu:
Enter the Stream Target Name you would like to use. This is for internal use only and it is recommended that you follow the format “[Camera] [Company Abbreviation] [CDN Target, ie: TWCH for Twitch]”.
For example: “Redtailhawk HDoT TWCH
4. Click the link to Create your Twitch Live Event, which will take you to your Twitch account.
5. Find Primary Stream Key, then select Copy to get your stream key copied.
6. Return to your Portal tab and paste the stream key from Twitch into the Twitch Stream Name field. Click Save.
After your target has saved, you will see it in your Stream Targets list:
You can toggle the stream target on/off (Note: This will stop pushing your stream to Twitch), update your Stream Target Key or delete your stream target(Note: This will stop pushing your stream to Twitch).
- Return to your Twitch tab and click on Live under the Dashboard. You are now live on Twitch with your stream!
